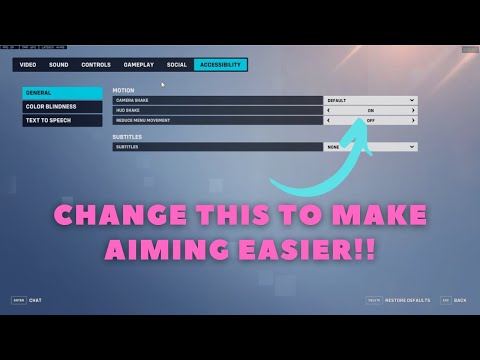
How to change the sight in Overwatch 2
In addition to a good game strategy or detailed knowledge about heroes/maps, one of the most important criteria for achieving success in the tactical game FPS, such as Overwatch 2, is the presence of a good sight that will help you reflect your true aiming potential on the screen. Although the default sight is magnificent for each hero, for starters it is always recommended to configure and choose the sight manually. To change the sight in Overwatch 2, visit SEPA section Under tab Management .
- What are the types of sights in Overwatch 2?
- how to change the sight in Overwatch 2
- All customizable rectangles in Overwatch 2
What are the types of sights in Overwatch 2?
There are five types of nets in Overwatch 2.
by default *: If you choose this type, all the heroes will display the default sights. Crossing : The traditional crossing of FPS with the inner and external lines. Circle and Crossing : You will have an additional circle in the center of the crosshair. * Point : A sighting grid will have only one point. You can configure and configure the point at your discretion.
how to change the sight in Overwatch 2
To do this, follow the following steps.
Open overwatch 2 and be available on the main menu. Press ESC or click the button B The lower right angle of your screen. Select Settings option and go to control elements Section Under General Category, Find Settings of the grid . Change type of grid * for something according to your choice and save the settings.
All customizable rectangles in Overwatch 2
In addition to the default parameters, you can configure the following parameters for your type of grid in Overwatch 2.
- Color
- Thickness
- Cross-length length
- Central gap
- Op pry
- Op pry of the circuit
- Point size
- Op prying point
- Scale with permission
To find out more about Overwatch, read the sections How to quickly increase the level of combat pass in Overwatch 2 or Which class is better to play in Overwatch 2?. In professional game guides.

Comments
Post a Comment